Ah, back to school time. New teachers, new friends, and all those school supplies just waiting to be decorated. Those decorations can add up to quite a bit of extra money, though (especially if you or your grownups already dropped some cash on that hefty school supply list!). So, let’s make some easy decorations for cheap!
We’ll start with stickers. When I was a kid, we covered our folders and binders in stickers. (Allow me to date myself...you had reached the pinnacle of popularity if you had Lisa Frank stickers.) But stickers, especially larger ones, can be both hard to find (in the design/character/quote you want) and a little more expensive. The solution? Make your own!
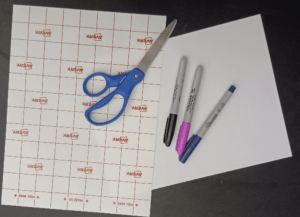
To get started, you'll need:
- Paper
- Coloring utensils (markers, crayons, pencils, etc.)
- Scissors
- Either packing tape (with wax paper) or self-laminating sheets
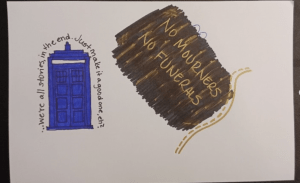
First, draw out your design or write a quote. Or both! And don’t be afraid to mess up. Play around with different techniques, too. I found that a black permanent marker will smear a metallic one. It was a happy accident because it added a cool effect to the quote I used.
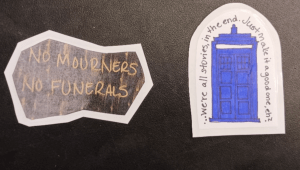
Next, you’ll cut out your design. Leave a little space around it. Notice how stickers in stores usually have a little bit of a border? That’s what you’re doing here. If you’re using packing tape, carefully pull it across your face-up design. Repeat as necessary to cover it and put wax paper on the back. If you have self-laminating sheets, peel the backing off and put your design, face down, on the sticky side. Replace the backing.
From here, cut your design. Again, be sure to leave a bit of a border, preferably at least ¼ inch. Otherwise, it won’t stick! Once you’ve cut your design out, peel off the backing and place it where you want it. Now your notebooks, binders, folders, and planners are a little more personalized.
Happy crafting!

Add a comment to: Back to School Crafts: DIY Stickers